Step 1. Open the photo in Photoshop and make a copy of it; in the new layer do this; MENU Image: Adjustments: Desaturate
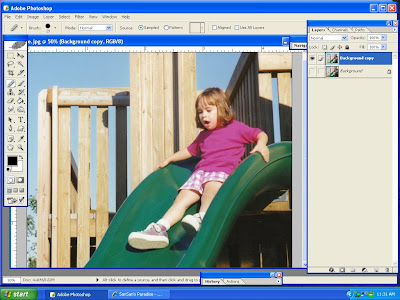
Turn off the original layer..This is result:
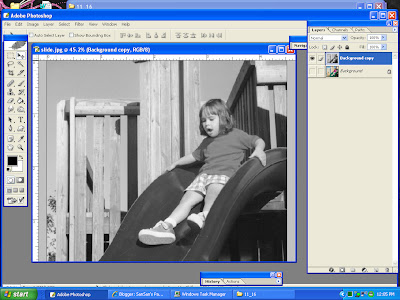
Step 2: Make a copy of THAT layer, so you'll have three. Do this: MENU: Image; Adjustments; Invert
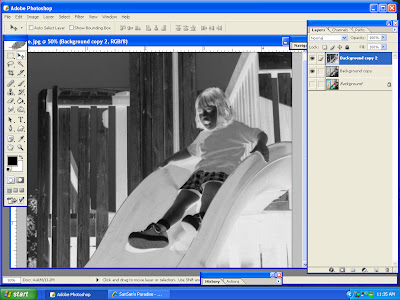
Step 3. On this newest layer, go to blending modes (circled in red below) and choose Color Dodge. Don't worry if the screen is mostly or entirely white. (My screenshot here was all white)
Step 4. Under MENU Filter; Blur, choose Gaussian Blur and move the slider until you get the best result possible.
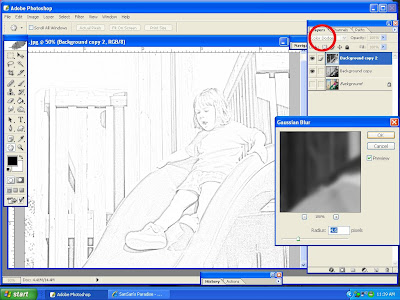
Step 5. FLATTEN image.
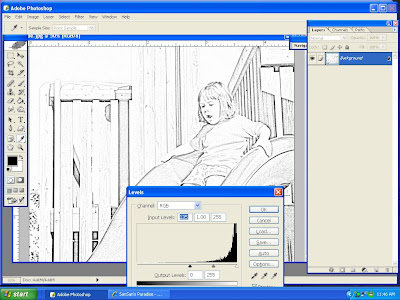
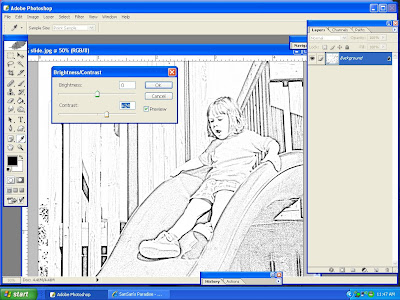
You can even take it a step or two further by making adjustments in Levels or Brightness/Contrast. See below:
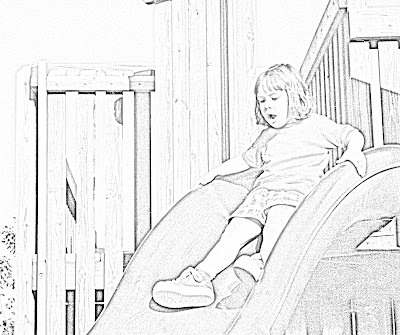
Some tips: If you are doing a head shot, try to clean up the distracting backgrounds first if it will make a better end result. You don't have to do a fully clean extraction because cleaning up pencil blemishes is much easier at the end. This technique is good for low res photos. The example here was made from an extremely poor original. I have a whole group of years that, regrettably, most of my child's photos were taken with a bad camera, so I try to find creative ways to still use them.
Have fun with this easy tutorial!


1 comment:
Thank you so much for this tutorial! I love this effect, and you made it so easy with your step by step.
I'll be checking your blog often!
Debra
inhousetranscription@yahoo.com
(Blogger hates me + I don't want to be anonymous so that's why I signed this note to you.) :)
Post a Comment