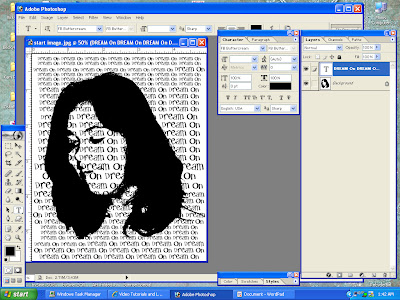
I have a fun and simple tutorial for turning a photo into a shape filled with text.
Step 2. In Photoshop, go to Images; Adjustments; Threshold and set slider where the photo looks best. I used a setting of 105.
Step 3.
In a text program, like notepad, fill it with the word(s) you want as fill over and over till you get this. I typed Dream On.
In a text program, like notepad, fill it with the word(s) you want as fill over and over till you get this. I typed Dream On.

Step 4. "Copy" all of the text you made. In a new text layer "paste. " Open Character Palette to choose the font and sizes you want. I mixed it up with several sizes from 6 pt to 11 pt:

Right click the type layer and choose "rasterize text layer"
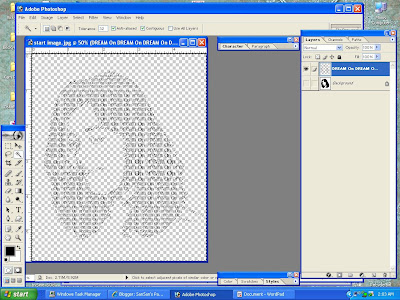
Step 5. Select the template layer and with the magic wand at a tolerance of 32, click within the white area. Now go to Select menu; click Similar to select all of the light areas. With marching ants still active, select the text layer from the layers palette. Hit delete to clear the excess text. Either turn off or drag the template layer into the trashbin. You can also flatten the image or turn into a png.


2 comments:
AWESOME tutorial Sandy!!
Sandy this is a great tutorial, definately something I will use...
Fran (frani_54)
Post a Comment